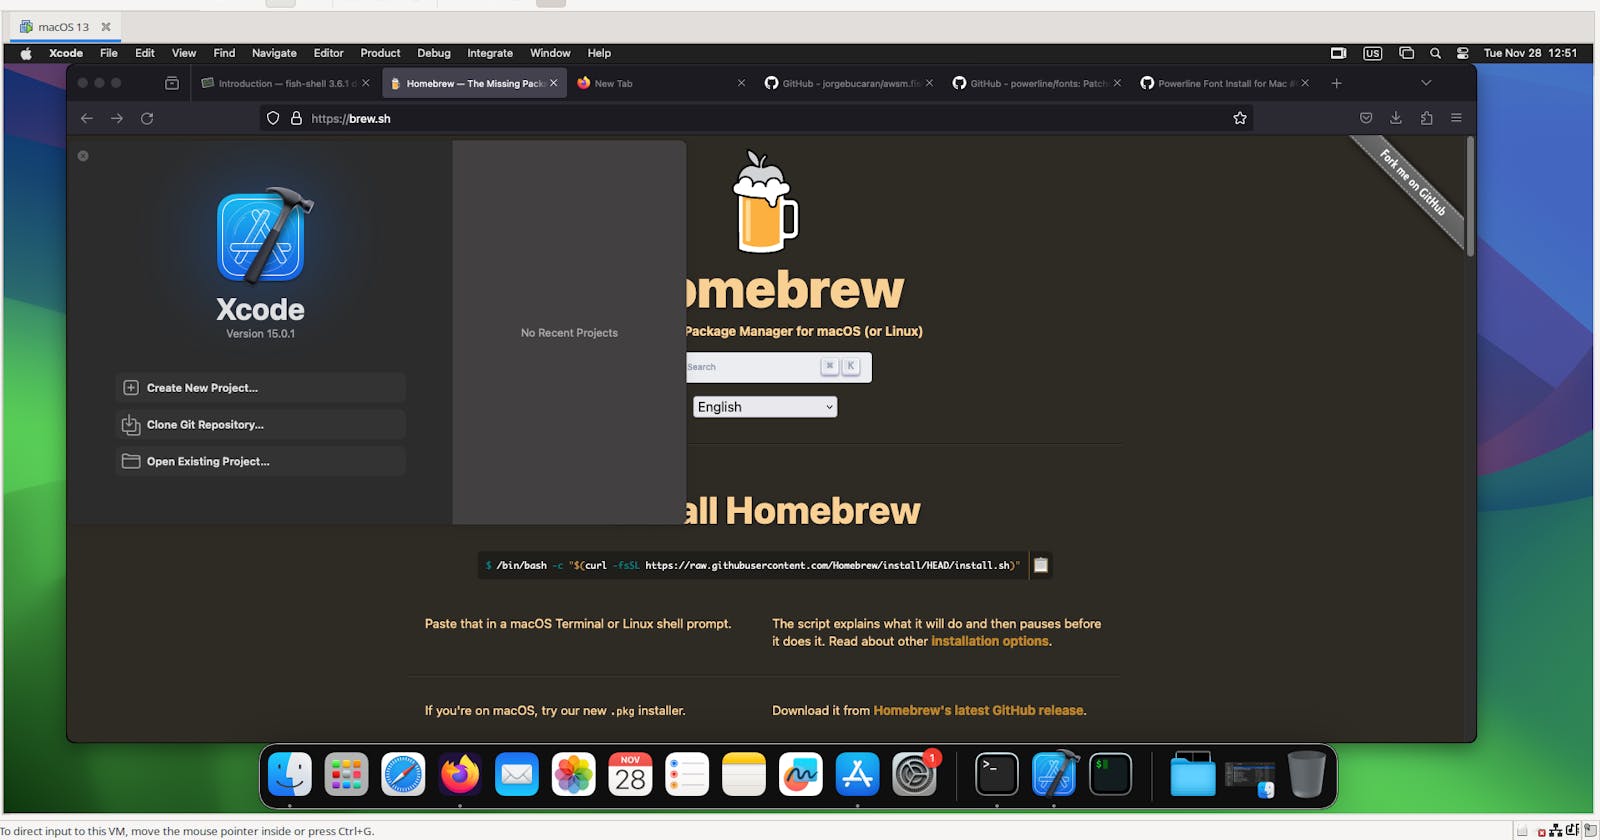
New week new project! Back on the virtualization journey. This time I am running MacOS 14 (Sonoma) in a VM using VMware on a Linux host. And so far so good.

Reasons for switching from QEMU + KVM to VMware
If you saw my last update, I got MacOS running using QEMU + KVM on a Linux host.


However there a few major issues I ran into with using QEMU + KVM:
I could only get MacOS 13 (Ventura) installed. Sonoma continually failed on installation and I couldn't find a fix. Maybe its because its a new version hence needing more time to develop and fix.
Updates were available and would download but failed to install. ( Although the system was usable I felt its important to mention)

- Apple ID was a pain point to get working. I did apply a few tweaks to get working. This important if want use the Apple Store and by extension XCode.
It should be noted that performance was usable once proper tweaks were in place.
Enter VMWare
Now I feel like a should preface this with: I am not endorsing VMware over using QEMU. I have been a full-time Linux user for a better part of 5 years and I use QEMU as my virtualization platform of choice for Linux and Windows VMs. Its a matter of getting a the job done for this specific task. And of course the fact VMWare that its a paid closed-source product is a key point here.
Now installing a MacOS VM differs from any other guests. Lets run through the steps:
I had to fix a well known issue with running VMware on Linux - compiling your own kernel modules. This isn't much of a problem for seasoned users but for others it might be a deal breaker. This repo will save you hours of searching google.
I needed to install an unlocker from GitHub to enable options in the main screen.

As a side note also run the update-tools script in the repo.
I had to download an ISO (15 GB). Use this link to read more and get download links.
Install open-vm tools (this enables a slew of optimizations).
VM Installation
Once you have the prerequisites done. The process is relatively straightforward as outlined in this guide. One thing to note is will take a while when running for the first time. Let it finish. Once done you should run through the first time setup and enter all the details
Note: I did 2 major issues with the VM once it finished installing.
No internet connectivity.
Frequent crashes and restarts.


Now these made the VM virtually unusable. However, I found a solution in the VMware forum. It outlines a fix by changing a line your vmdx file that relates to ethernet device. This worked amazing and now internet is working and the crashes have stopped. Updates and Apple ID sign-in are also working.
Conclusion
In summary, virtualizing MacOS with VMware provides several key benefits like unified application access, optimized performance through direct hardware access, and snapshots for easier testing. For most tasks, the small tradeoffs in native hardware performance are negligible. As Macs gain popularity, technologies like VMware will remain important for unlocking the platform's versatility by empowering users with choice. For power users especially, mastering virtual machines helps tap the full potential of Macs.
Thanks for reading! Free free to leave a comment below if you have any questions, suggestions or clarifications. You can also reach out to me on Twitter. or LinkedIn If you found this article helpful feel free to share it with others.
Buy me a coffee here.


